
Our Editors independently research, test, and rate what we feel are the best products. We use affiliate links and may receive a small commission on purchases.
Getting started backpacking is a huge bite to chew on for the new hiker. There is gear to buy, rules to learn, and thousands of pages of advice to sort through on your journey into the mountains.
Fears of lightning storms, bears, and dark lonely nights may be scattered throughout your dreams as your head is simultaneously excited, scared, and optimistic about everything all at once.
But where to start look, learning, and reading? Well, right here! I’m an Outdoor Educator, backpacking trip leader, and full time ski instructor with hundreds of nights on the trail leading groups.
I was once in your shoes – unsure and learning a thousand miles a minute. In this article, we’re going to boil down what you need to know and what can be filtered out.
Let’s get started learning how to backpack like a pro!
How To Get Started Backpacking
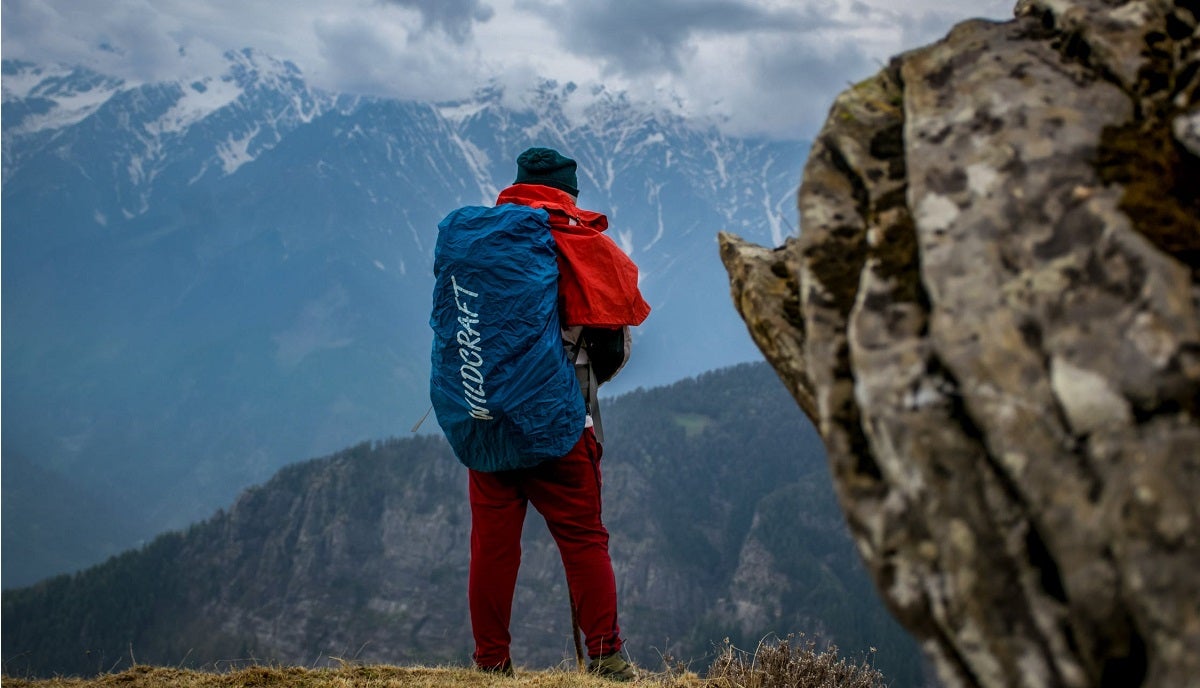
Choosing a Backpack
Most advice will recommend that you first purchase all of the gear for your backpacking adventures before purchasing the pack. Why? Because if you buy the pack first, then buy all the gear – you may find that the gear ultimately doesn’t fit into the pack! That would be a serious bummer.
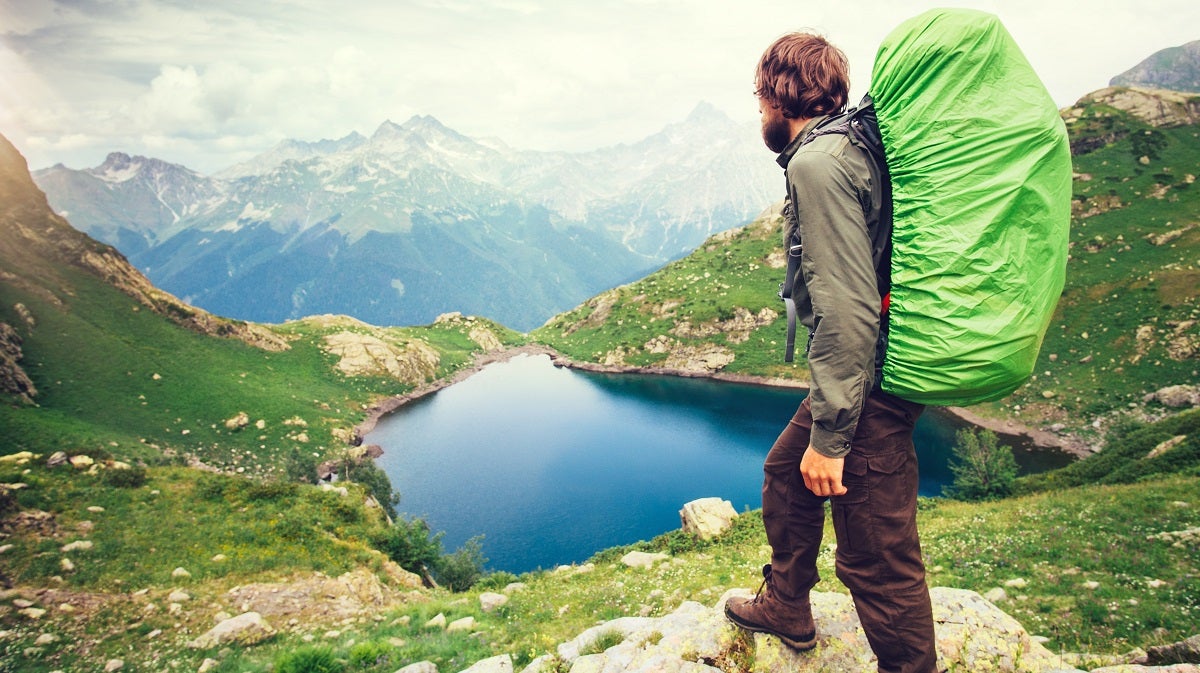
As a general rule of thumb, most backpackers start out with way more gear than they need. So, you may find the following pack sizes to be a ballpark guess of a starting size:
- 40L – Overnight / weekend hike with small loads
- 60L – 3-5 day hikes with moderate loads
- 80L+ – 7+ days between supply pickups with large or bulky loads
Of course, these numbers are HIGHLY subjective and I, personally, use a 40L backpack for all of my hiking needs up to 5+ days at a time.
Pack Design
Other considerations are things like pack shape and design. Some backpacks are made up of tons of zippered pockets and compartments, while others are one large single space with a roll-top closure. I prefer simplicity and love the ease of a single compartment, roll-top pack.
This allows me to use a trash compactor bag as an inexpensive and effective water barrier though I usually use a handful of cuben fiber dry sacks which stack well inside my pack space.
Gender Variations
There is a huge difference in pack design between men’s and women’s models. Women’s packs have anatomically accommodating hip belts and shoulder straps and trust me when I say that it makes a difference.
Men’s and women’s specific packs are not a sales gimmick so be sure to take the time to be fitted for the proper pack when choosing your new backpack!
Weight
Keep in mind that your backpack contributes to the overall weight of the load you’re choosing to carry on your back every day. Many large backpacks with beefy frames and a hundred zippered pockets can weigh as much as 3-5lbs! It’s also possible to find packs that weigh less than 16 oz (1 lbs).
When minimizing weight, consider ditching things like a detachable brain (top compartment) or looking for bags with simplified design to get rid of the weight of excess bells and whistles that you’ll be unlikely to use.
Many features sound “cool” in the store but on the trail, you’ll find they’re really not necessary or as useful as they seemed when the sales guy was making his pitch at REI.
Choosing a Cooking System
Believe it or not, taking a stove on a backpacking trip is totally not necessary. It is possible to eat stove-less meals or use fires in appropriate situations.
Of course, this plan can quickly backfire if poorly though through and for the beginning backpacker I recommend a simple canister stove. For the sake of education, however, we’ll run through a few options. For an in-depth guide to starting a fire in the woods, see this guide.
Stoveless
Some backpackers choose to go “stoveless” and simple eat foods which need zero cooking. These are things like candy bars, granola bars, trail-mix (GORP), nuts, crackers, dehydrated fruit, etc. It is possible to do this well, but careful planning and consideration of nutritional needs is necessary!
Canister Stoves
These stoves are small, light, and efficient. They’re dead simple to use and easy to operate. Examples are the MSR Pocket Rocket and the JetBoil system. Downsides of this method include having to carry out your empty fuel canisters, and lack of efficiency in extreme cold or elevation.
Solid Fuel and Alcohol
For the lightest weight cooking system available, many will choose to go with Esbit fuel or homemade alcohol stoves. If you’re experience, thoughtful, thorough, and willing to experiment these are great systems to reduce your weight.
For the brand new hiker, however, it’s probably smartest to stick with a canister stove unless you have an experience partner.
Freezer Bag Cooking
Freezer bag cooking is one of the coolest inventions since the wheel. Make your own meals with your own ingredients to exactly the portion and flavoring you like.
Then, when on the trail, simply heat up some water and pour it in to your meal bag. Of course, there’s a lot more to it than that when you get into the details but that’s the idea! I’ve been FBC my meals for years and love it!
Of course, there are many other options out there and we only spoke briefly about each of the options covered here. Once you’ve decided which method sounds the best for your needs seek out additional information before making a choice and purchasing gear.
Deciding on a Sleep System
Sleeping systems include sleeping pads, sleeping bags or quilts, and the shelter in which you will sleep. This is a big decision to make and, for the new backpacker, the easiest decision by far is to start with an inexpensive solo tent. Let’s explore the options.
Shelters
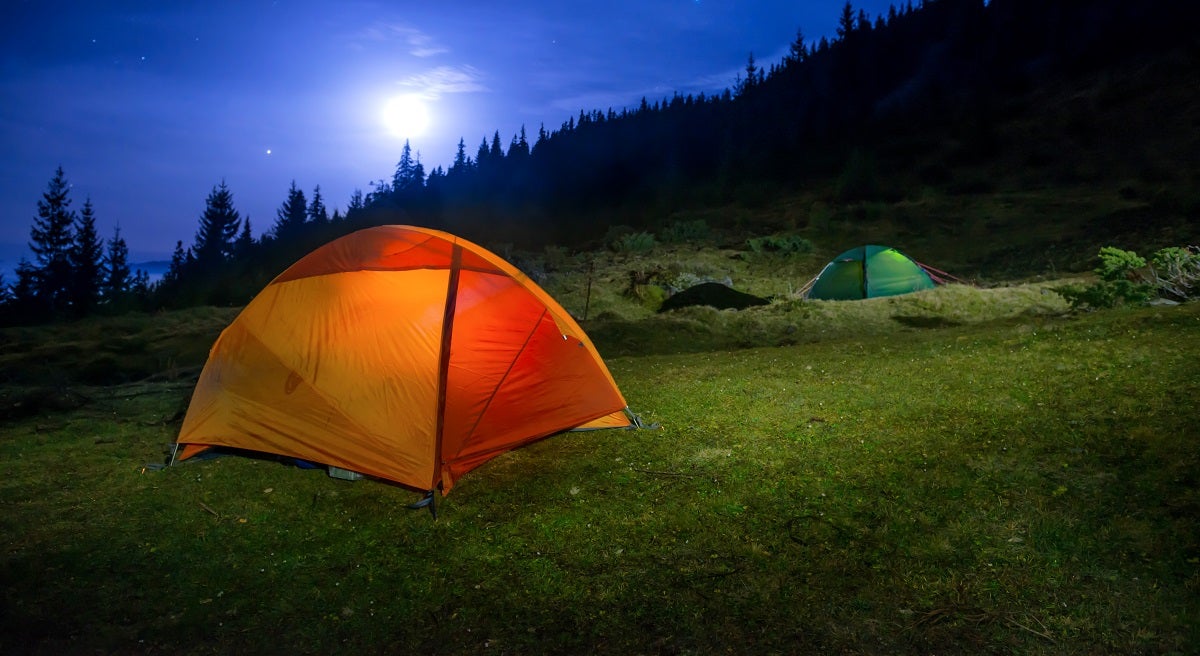
Tents
These are well proven shelters that everyone has seen for years. They’ve been around for ages unknown (okay, someone probably knows how old the invention of a tent is) in various forms. Tents can be made of various materials in many setups and this will affect their form, function, weight, and bulk.
For the beginner backpacker, it’s likely most prudent to simply purchase a backpacking tent that is easy to pitch, understand, repair, and use. A good, durable bathtub style floor is prudent and a seam-sealed design is critical for waterproofness.
Tarps
Moving up in difficulty, tarps are single layer waterproof fabric shelters which can be pitched in versatile ways. They may or may not provide bug protection and usually have at least two open sides (head and foot ends). Some tarps blur the line between tent and tarp with pyramid designs and tarp-tents.
In its simplest form a tarp is function, versatile, and amazingly effective with practice. They’re lightweight and can be packed up into almost no space at all.
Another great bonus is that they lack any poles which further lightens your load and saves pack space. I personally use a tarp as my main backpacking shelter, though I started with a tent.
Hammocks
Hammocks are becoming increasingly popular. I joined this exciting movement in about 2011 and used a camping hammock as my main shelter for backpacking for years before moving back to a tarp setup recently. Hammocks can be pitched over rocks, bumpy terrain, or water puddles (even over rivers if you’re adventurous). They add an element of versatility that most shelters cannot match.
Drawbacks, however, include heavier weight than most tarp setups, need for properly spaced trees, and usually complex setup. Most hammock campers make some or all of their own gear and you’ll need a top and bottom quilt for insulation which will quickly get bulky, heavy, and expensive! Done right, hammocks can be a perfect solution for many hikers, especially those suffering from back pain.
Of course, there are other types of shelters but, for the new backpacker, the above three are the most likely shelter types. Remember that shelters come in many different sizes, shapes, designs and styles. For the beginner, purchasing a simple tent from a good outfitter such as REI is probably a great option.
It is possible to purchase fully custom made tents, hammocks, and tarps from cottage industry manufacturers, which is what I do, but this is an advanced approach not suitable for most beginners.
Sleeping Pads
All sleep systems must have a sleeping pad. For some, the function of the sleeping pad is simply to provide insulation. For others, the sleeping pad is there to provide a cushion and soft sleeping surface. Most of us are somewhere on this spectrum of comfort versus austerity.
Self-Inflating Pads
One of the most popular types of sleeping pad today is the self-inflating pad. This design features open cell foam sandwiched inside a nylon shell. Open a valve and air rushes in as the foam expands and the pad inflates. To pack away the pad, simply open the valve again and roll the pad up as air is expelled.
These pads are one of the bulkiest options and often the heaviest option with all things equal. They’re convenient but usually can be outperformed by other types of pads.
Blow-up Pads
These pads require manual inflation using either a pump or your breath. Of course, bringing a pump along adds weight, bulk, and cost so I use my breath. For me, this is the perfect balance between weight, comfort, and insulation. These pads can be up to 3” thick or more and as light or lighter than most other options.
Because I am a side-sleeper primarily and a good night’s rest is of utmost importance for my ability to hike – I use the Neoair Xlite pad, full length. This pad weighs just 12 oz (0.75 lbs) and inflates to a very enjoyable 2.5” inches of loft.
Closed Cell Foam Pads
These are super simple old-school style pads that many of you will recognize. They’re simply a mat of dense foam to provide some cushion and insulation from the ground. By far one of the most insulative options, closed cell foam is light, durable, and warm.
For me, the biggest drawback is that closed cell foam cannot be compressed and therefore is extremely bulky when carried. This means either taking up enormous internal space, or being lashed to the outside of the pack (something I hate doing).
Closed cell foam is also uncomfortable for me so be sure to test sleeping on a CCF pad before taking one into the backcountry for a long trip to be sure it’s right for you.
Sleeping Bags vs Quilts
Today, more than ever, many hikers are moving away from sleeping bags and mummy bags and into ultra-high-tech quilts. By “many” I mean “a few” because the quilt revolution is still very small and unknown. Why are people moving from mummy bags and into new quilts? Well…
The purpose of a sleeping bag is to provide insulation, right? Insulation works by trapping air and it does that by creating “loft”, or a thick area of dead air space.
If this loft becomes compressed, it can no longer trap air and do its job of insulating. So, when sleeping in a mummy bag, all that insulation that you’re lying on becomes compressed and fails to provide insulation.
What this means in practice is that mummy bags and traditional sleeping bags sacrifice a lot of extra material, bulk, and weight on the bottom of the bag where the insulation is ineffective and unnecessary. Quilts solve this problem – they’re basically down-filled mummy bags (they cinch around your neck) lacking the bottom half.
I highly recommend that new backpackers start with a quilt and skip the mummy bag altogether but you’re not going to find a quilt at your local REI or outfitter. You’re going to have to special order one from a custom gear maker such as Underground Quilts.
Paul, owner of UGQ, is a friend of mine and a great guy – I use his quilts exclusively as they’re the most affordable, lightest, and most innovative on the market today.
Other Pack Items
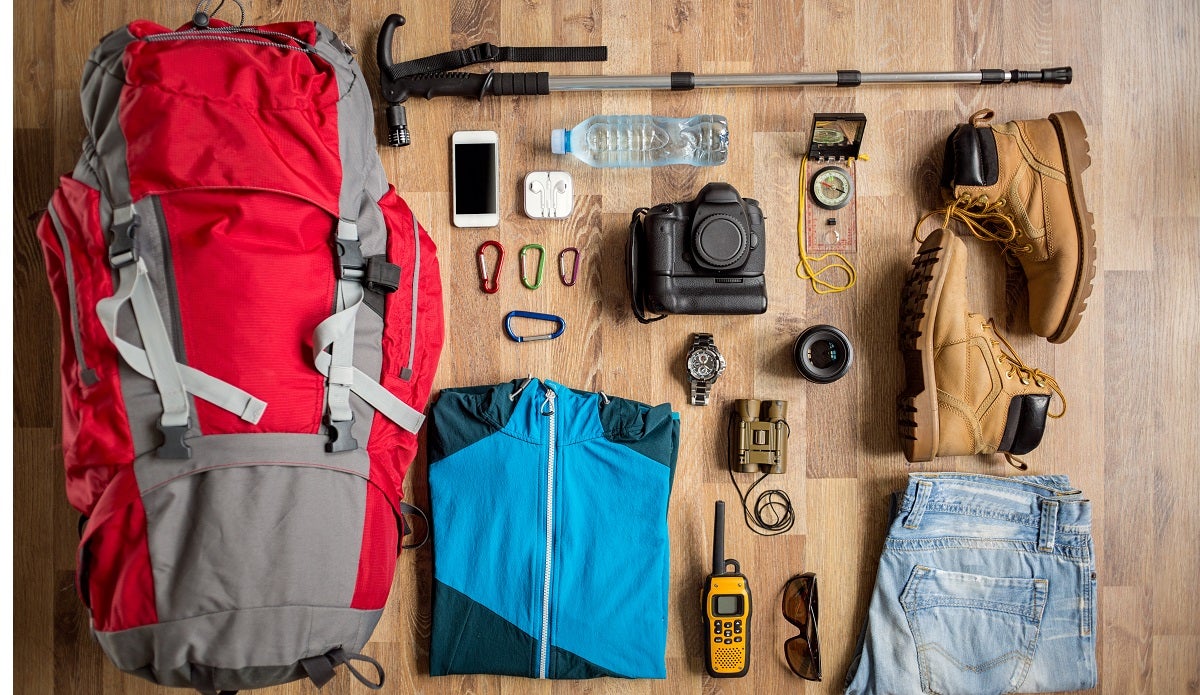
What we’ve covered so far are the “big 3” of backpacking – shelter, sleep system, and backpack. We’ve also talked about your cooking system as this is a critical piece of gear to figure out early on.
In order to be successful at backpacking, you’ll need tons of other little items, but getting these first items correct will set the stage for all future success. Remember that gear choice will be an evolving process and not all gear is appropriate for new backpackers.
LNT (Leave No Trace) Trowel
One of my biggest pet peeves is when hikers fail to adequately dispose of human waste. Often it is possible to use privys on established trails such as the Appalachian Trail. When not possible, however, human waste (poop) needs to be buried at least six inches deep and well away from any shelters, camp sites, water sources, or trails.
Bringing a trowel for digging a correct cat hole is important to ensure that your impact on the lands where you’re recreating are minimized. The Suluk46 Tark Trowel weighs less than half an ounce and is nearly bomb-proof. It’s my personal choice for trowel and it always comes with me. Be responsible with your hiking!
Bear Hang
You’ll need to take the appropriate gear for making a bear hang. This means mastering the PCT Bear Bagging Method and acquiring a bear bag and bear rope. I highly recommend Dynaglide rope for bear hanging (it’s what I use for bear hanging and pitching my tarp).

Dynaglide is lighter and stronger than just about anything else on the market and it also has a slippery smooth texture so that it slides over branches like butter! Consider the zPacks bear hanging kit, too.
Personal Hygiene
Let’s just make this simple – don’t bring deodorant. You’re going to get sweaty, dirty, gross, and smelly – so is everyone else on the trail. Deodorant is useless and my strong recommendation is to just get used to leaving it behind.
As for other cosmetics, they’re pretty superfluous and unless you need something for maintaining your health, it’s probably better left behind. Personally, I use Dr. Bronner’s Liquid Castile Soap for brushing teeth, doing dishes, washing my hands, and cleaning myself. In a dropper bottle, a little will go a long way!
Water and Campfire
If you are planning on spending any time in the woods you will not be able to pack in enough water so filtering water to make it safe is a absolute necessity. I would recommend bringing a good water filter like the Lifestraw. While not a necessity, being able to have a campfire is nice so bring waterproof matches or a good backpacking firestarter like the Lightning Strike.
Phones, GPS, Beacons, PLBs
In some areas where you’re close enough to civilization (such as most of the Appalachian Trail), you’ll have cell phone access. I like to take my phone with me.
When that’s the case but many will choose not to. It’s nice to have isolation from the technology and I encourage all of you to experiment with that!
Unless you’re doing some serious off trail or rugged hiking, hiking GPS units or a hiking watch are really not a necessity. A good trail map and understanding how to use it is perfectly acceptable. Some will consider taking a SPOT device or a PLB (personal locator beacon).
Remember that signaling for rescue using either will mean a full-fledged rescue operation and should never be used short of a “life or limb” situation.
Clothing
Understanding and developing a well-rounded layering system for backpacking is critical to minimizing weight and bulk in your pack. We’re not going to go over all the details of layering here, but with proper planning, testing, and refining you’ll be able to create a clothing system which can handle all situations using a bare minimum of gear. I like wearing convertible hiking pants, that way I am ready for both warm and cold weather, its the best of both worlds.
I like to gauge my clothing and sleeping system by asking myself the following, “If temperatures reach the forecasted record low in the location I will be hiking, will I survive a night wearing all of my clothing, rain gear, and wrapping myself in my quilt?” If the answer is yes, then I am all set to go.
For new backpackers, you may want to ask yourself the same question and test your hypothesis on a cold night in the back yard where the risk is low and you can just go inside if you guess wrong. Always err on the side of caution because your life may be on the line!
Rain Gear
During summer conditions, many hikers will choose not to take or use a rain jacket. The idea is that you’ll get wet anyways – either from sweat or rain eventually, so why take anything at all?
I will advise most hikers to start out by taking rain gear and, if you find it’s not necessary for you in most situations, eventually leave it at home or tailor your rain system to your needs. Here is a guide to staying comfortable backpacking in the rain.
Rain gear can help provide a windproof layer and a serious amount of extra warmth to your clothing system in a worst-case scenario situation so it’s never a bad idea to have it, especially when starting out.
During cold spring, fall, and winter conditions when it happens to be raining, getting wet can be dangerous or deadly. Rain gear and good understanding of your system is absolutely critical to surviving and thriving in the backcountry in these situations.
Environmental and Recreational Ethics
Too many hikers today are heading into the backcountry without any real understanding of their impacts on the public lands and resources they are using.
Every time each of us steps into the wilderness, we are impacting the earth and the resources for others who come after us. We’re going to talk about how to foster a holistic understanding of ethical hiking.
Why Bother?
I think today, more than ever, we’re less aware of the impact we have on others as a culture. Everything is disposable, instant, and personal.
When we go hiking, we all have to share. We have to share campsites, trails, and privys. If you decide to carve your name into a shelter or a tree, that’s going to affect the next person who comes along.
I’ve seen entire fire rings full of hiker trash at shelters along popular trails. I once sat my backpack in a pile of human feces no more than a foot from the trail when taking a break. I’ve seen litter, trash, scattered fire rings, and highly destructive campsites.
Going camping means taking care of the earth and the public lands we all share so that we, ourselves, those who come after us, and others who come beside us can enjoy the experience time and again.
Impacts of Rescue
Heading in the backcountry unprepared could, in the worst situation, lead to a rescue or recovery situation. When appropriate initiating a rescue is an intelligent and responsible move.
However, when an unprepared hiker gets themselves into a situation that could have otherwise been avoided and initiates a rescue, that process has huge impacts.
Rescue teams are primarily volunteer and that means they must leave their job, friends, or family in order to risk their lives in often dangerous situations to come and save you.
Rescues create damage to the environment from ATVs, off road trucks, and sometimes destructive rescue operations. Other hikers will also be disrupted by these events.
When heading into the backcountry it is your responsibility as a hiker to be prepared and appropriately knowledgeable to avoid rescue scenarios. Of course, the worst can still happen even when prepared. Never hesitate to call for rescue in a true life and death emergency.
LNT Principles
There are 7 LNT principles (Leave No Trace) which provide an ethical framework from which to shape your perspective and actions in the backcountry.
These guidelines are intended to help educate and remind wilderness users of the best ways to help preserve, protect, and serve the lands we all choose to use together.
Often the mentality is, “Well, I’m just going to discard this one piece of trash, just this once.” As an isolated incident, this is rather harmless.
However, when we have thousands or hundreds of thousands of users recreating on a concentrated area throughout a year these incidents add up. Your actions have a direct and measurable impact on the overall outcome.
Conclusion
While we’ve covered a ton of material in this article, it has been a very cursory look into the depths of most topics. Many of these topics require much more depth and clarity to be done their due diligence. Be sure to seek more knowledge and education about each of these topics as you choose, purchase, and test your own gear and equipment.
Other ways to ensure that you are prepared for backcountry travel are to take courses on navigation, wilderness medicine and emergency medicine, and participate in backpacking programs from reputable instructors.
Make sure to test your gear, knowledge, and systems in a safe place such as a campground or your own backyard before venturing into the wilderness. Traveling with a more experienced partner is always a good idea.
Remember to have fun, keep learning, and always tell someone where you’re going and how long you intend to be gone.
I hope this beginners guide to backpacking was helpful.. If you want to comment or recommend a tip or consideration I didn’t include, please use my contact form to get in touch.
Have fun and be safe out there