
Our Editors independently research, test, and rate what we feel are the best products. We use affiliate links and may receive a small commission on purchases.
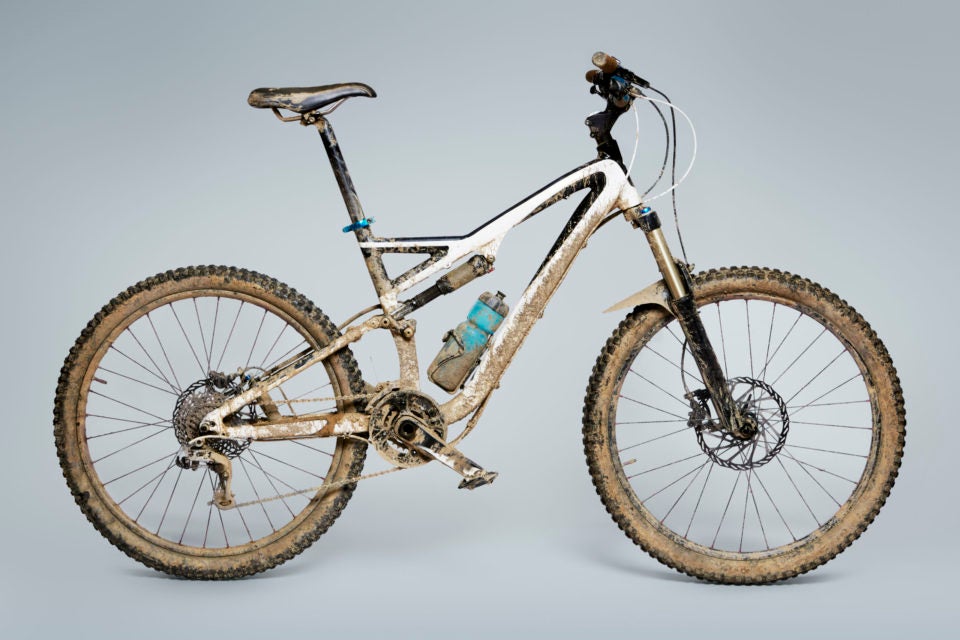
Are you thinking of swapping your old mountain bike for an e-bike? You don’t have to. You can save money by using an electric bike conversion kit to transform your mountain bike into an electric bicycle.
You can enjoy mountain biking on a bike you’re used to and still benefit from the advantages of an electric motor. It will help you to climb the steepest slopes and take you farther and faster than you’ve ever gone before.
Simply follow these 8 easy steps and you could soon be zooming along the trail on an electric mountain bike.
#1. Ensure your old mountain bike is suitable for conversion
Before you purchase a conversion kit, it is important to ensure that your old mountain bike is suitable for conversion. Otherwise, you may need to buy a new one or buy a ready-made e-bike.
Your old bike must have a strong enough frame to hold the new parts, such as the electric motor, throttle, and battery. A bike frame made using carbon fibers may collapse under the extra weight.
Ideally, the wheel diameter should be around 26″. You will find that most e-bike conversion kits with a new front or rear wheel are designed to fit this wheel size.
The controls and speed gauge you’ll be adding during the e-bike conversion attach to your handlebars. You must ensure that your handlebars are wide enough to hold them.
Front disc brakes will be handy once you’ve converted your mountain bike. You’ll need them to maneuver around steep slopes.
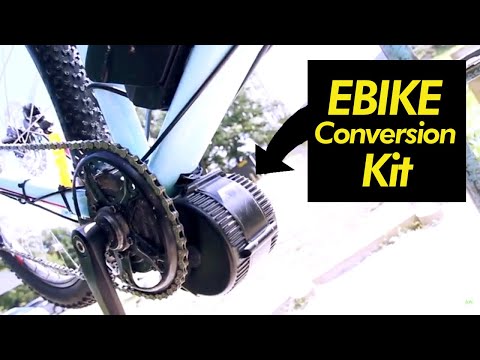
#2. Choose a suitable conversion kit
It is possible to buy all the components you require to build an e-bike separately. However, when you buy a kit, you know that you’ve got everything you need. Also, each piece of kit will be compatible with the rest.
A conversion kit will include a throttle, hub (or mid-drive) motor, and speed controller. Many kits do not include a battery, so it is likely that you will need to purchase that separately.
If you’re buying a kit with a replacement front or rear wheel, ensure that the new wheel matches your old bike’s wheel diameter.
Don’t buy the cheapest kit you can find because they often do not provide good value for money. Read through the reviews on Amazon to ensure that previous customers have been happy with what they received in their kits.
Note that some companies selling e-bike conversion kits are not long-lasting. Check that the product you’re buying has been around for a while and that the seller has developed a good reputation.
#3. Select a suitable battery
Ideally, an e-bike battery will offer a capacity between 10 Ah and 20 Ah. Ah (amp-hour) is a measure of the length of time for which a battery can produce a constant current of 1 amp.
A 10 Ah battery is able to provide a 1 amp current for 10 hours. Your motor will draw a higher current than this, so the amp-hour is simply a figure that helps you distinguish between batteries.
A 10 Ah battery will not enable your e-bike to run for 10 hours without a recharge. Basically, the higher the amp-hours, the longer your battery will last.
For a short commute to work and back home, a 10 Ah battery will be sufficient. For a longer commute, you’ll need a 20 Ah battery.
The battery voltage should be between 36 V and 48 V. The higher the voltage, the quicker your motor will run. A battery with lower voltage and amp-hour specifications than these will not run for long and will run slowly.
Only buy a battery that is specifically designed for e-bikes. Other batteries will not be balanced well, difficult to attach to your mountain bike, and may be too heavy.
It is a good idea to purchase your battery from the same seller as the conversion kit. In that way, when you have questions or problems during the conversion problem, you’ll only need to speak with one customer service department, and they will be familiar with both the kit and the battery.
Buying your conversion kit and battery as a bundle is the easiest option. However, if the bundle comes with a 10 Ah battery and you know you really need a 20 Ah battery, you’ll have to purchase them separately.
#4. Remove the relevant old part
For this step in the process, it’s a good idea to work inside a garage and to use a bike repair stand to keep your bike steady and a shop light so you can see what you’re doing.
Secure your bike upside down in the repair stand. If you don’t have a bicycle repair stand, position its seat firmly on the floor and get a friend to hold your bike while you complete your conversion.
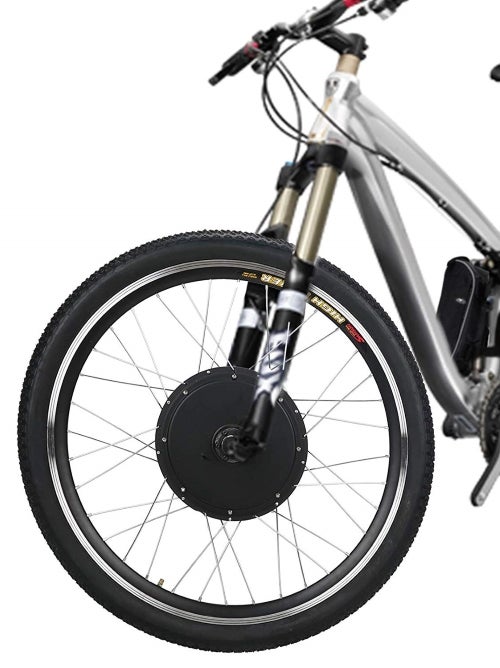
Conversion kits typically offer a replacement for your mountain bike’s front wheel, rear wheel, or mid-drive. The replaced part of your bike will possess an integral electric motor.
You need to remove that part of your old bike that you are about to replace. If you’re replacing a wheel, you must be careful to open the cantilever brake for better access.
If you’re replacing the mid-drive or rear wheel, you’ll need to remove the bike chain. If you don’t want to get messy, wear gloves to protect your hands from the grease.
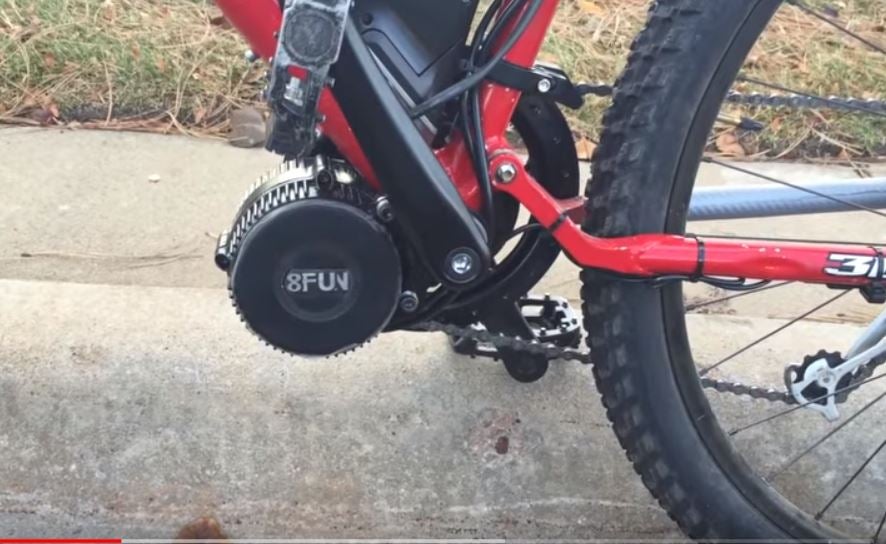
#5. Install the new part
Basically, in this step, you’re just reversing the process of step #4. Simply slot the new part into the place of the old part. The new part will contain an electric motor.
Usually, a replacement wheel will come with a new tube and tire, which you should fit onto the wheel before attaching it. At the end of the whole process, you’ll have to inflate the tire and adjust the cantilever brakes.
Your conversion kit will come with full instructions to ensure that you get everything right at this stage in the conversion process. Some kits also offer customer service so that you can video chat with an expert while you’re completing the conversion.
Often the most tricky part of the operation is replacing your bike chain. This can be a fiddly and frustrating experience.
#6. Fit the battery
Your battery will come with installation instructions that you must follow. It will need to be secured in place on your bike, usually inside a battery box.
Your old mountain bike likely has a water bottle mount. When your bike was designed, this was the optimum position to locate the water bottle without disrupting your peddling, ruining the aerodynamics, or unbalancing the bike.
Sadly, it’s time to say goodbye to your old frame-mounted water bottle. Its position is now the optimum position for your new e-bike battery.
Remove the water bottle and its mounting. Replace them with the battery and its box. This may require you to drill new holes into your bike’s frame for securing the box.
It is also possible that you will need to drill holes to feed electrical wires in and out of the frame. If this is necessary, it will be detailed in the conversion kit instructions.
You should drill any such holes and possibly thread in the relevant wires from the conversion kit before firmly attaching the battery.
#7. Attach the other components
Your conversion kit will come with a throttle and a speed gauge. These need to be attached to your handlebars.
Remove your bike from the bike repair stand. Turn it the right way up. Reattach it to your bike stand.
Carefully follow any instructions that come with the conversion kit to ensure optimum positioning for the throttle, speed gauge, and any other components provided with your conversion kit.
#8. Wire up your bike
This is where everything comes together. You should use small wiring pliers for this part of the procedure. In some cases, you may also require a soldering iron.
Before you start, be aware of the potential dangers of creating a short circuit by touching loose wires together or attaching wires in the wrong position.
Follow the wiring diagram provided in your instructions as closely as you can. Connect the battery last so that there is no power running through the wires while you’re wiring up the other parts of the kit. When attaching the wires to the battery, connect the positive wire first.
When you’ve completed the wiring, the speed gauge will be connected to the battery and both will be connected to the throttle.
The wires will need to be a little loose around your handlebars so that there is enough give while you’re steering. Test the amount of slack required while your bike is still attached to the bike stand.
Zip-ties should be used to secure the wires to the bike frame anywhere where slack is not required. You don’t want wires getting caught by your bike’s moving parts or your feet.
Enjoy your new e-bike
Grab your bicycle helmet and try out your new electric mountain bike.
Of course, you’ll have to charge the battery first. It is better to charge your battery to between 80% and 90% rather than 100% to prolong its lifespan.
Your newly motorized bike may be much faster than you anticipate. Ease into your first adventure with care. Also, ensure that you follow local laws.
Now that your mountain bike has a motor, it may not be permitted to ride along some trails. Carefully research the laws in your area regarding e-bikes. Make sure you don’t break the permitted speed limit or ride where you shouldn’t.