
Our Editors independently research, test, and rate what we feel are the best products. We use affiliate links and may receive a small commission on purchases.
Among popular methods of transportation, snowshoeing probably ranks near the lowest. Cars, trains, planes, skateboards, bicycles… even rollerblades may all qualify as more popular methods of travel. What makes snowshoeing so cool, then?
Of course, snowshoes are able to take us places no other travel can! Snowshoes even beat skis at ascending and navigating dense or steep areas in some situations.
There are still some things that are best left to a good old pair of snowshoes and those of us crazy enough to enjoy them during those beautiful winter snowstorms!
How To Start Snowshoeing
Why Snowshoeing?
This is a pretty fair question considering all the other fun ways we can choose to travel in the winter. Snowshoes are popular among those who love to hike during the summer months.
Using snowshoes can effectively expand your hiking season throughout the year in winter climates. As well, many people don’t feel comfortable skiing and snowshoes are familiar – just walk!
Other advantages include price and simplicity. Once you’ve bought snowshoes you don’t need expensive ski boots or resort passes. Just go enjoy your local hiking trails!
Snowshoes, as mentioned earlier, are also able to conquer territory and terrain that even cross-country skis can’t navigate such as thick undergrowth or dense forest.
What Gear Do I Need?
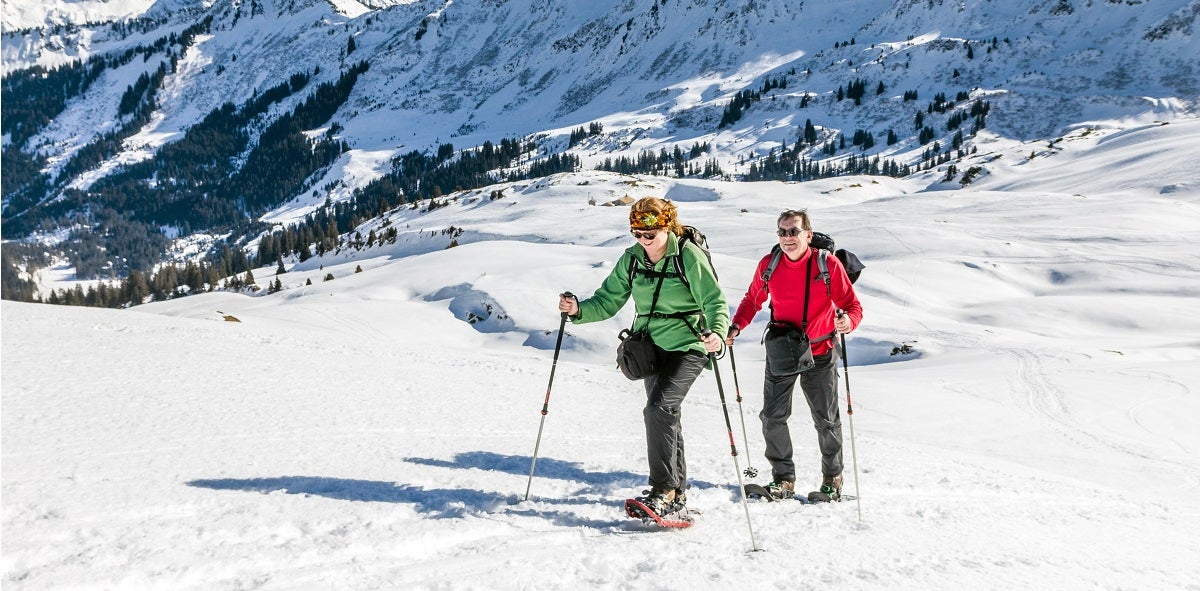
Getting started snowshoeing is really quite simple. Fundamentally it’s nearly identical to hiking. You’ll need all your normal summer hiking supplies such as a day pack, water bottle, sun screen, and snacks. Of course, you’ll also need to pick out your favorite pair of snowshoes and poles.
On piece of gear that gets overlooked too often is footwear. Most snowshoes strap down over your shoes using rubber buckles. In order to get your snowshoes to grip well, these straps sometimes squish your shoes. This means cold toes in the winter!
Pay Attention to Your Footwear
Because your footwear has to support the snowshoe it’s important to wear some rigid footwear. Of course, it’s possible to gently strap the snowshoes in place but overall it helps to have a good pair snowshoeing boots.
Look for boots and hiking shoes with roomy toe boxes to provide extra space to keep those toes warm! If you like to strap your snowshoes on particularly secure then consider a rigid winter boot with a little insulation. The last thing you want is cold feet after 30 minutes of hiking. It will ruin your trip!
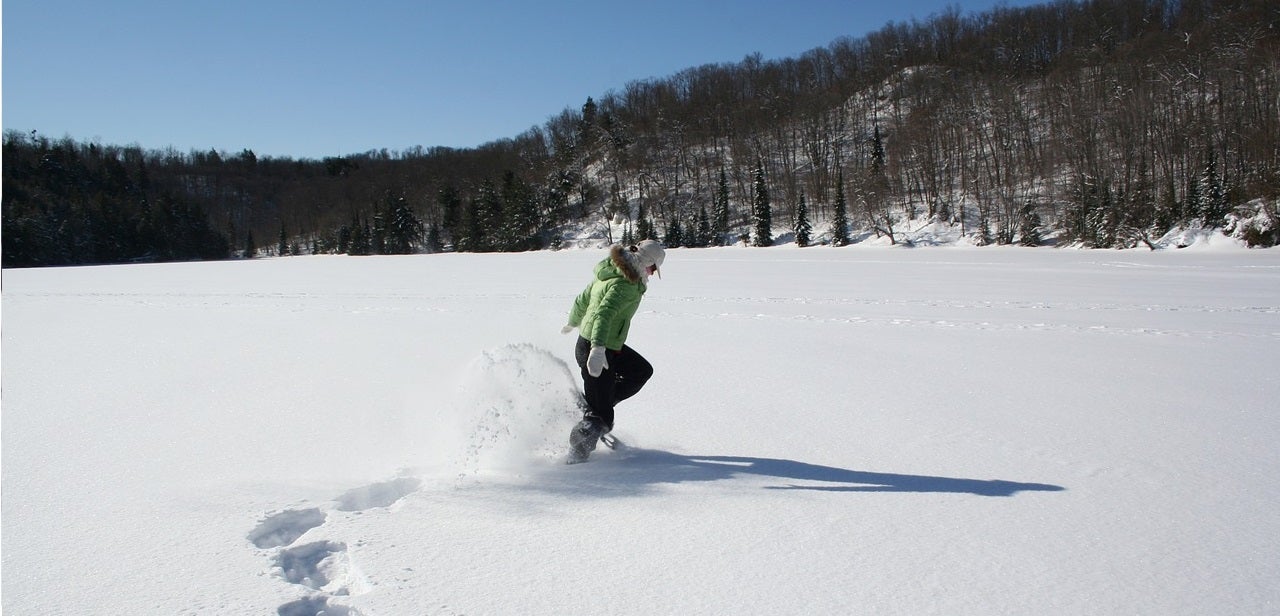
If you’re running in your snowshoes or wearing low cut shoes or boots be sure to use a gaiter! These cover the top of your footwear and prevent snow from dumping into your shoes every time you step. Some would consider this a must-have piece of gear.
Snowshoeing Techniques
Snowshoeing Technique on Flats
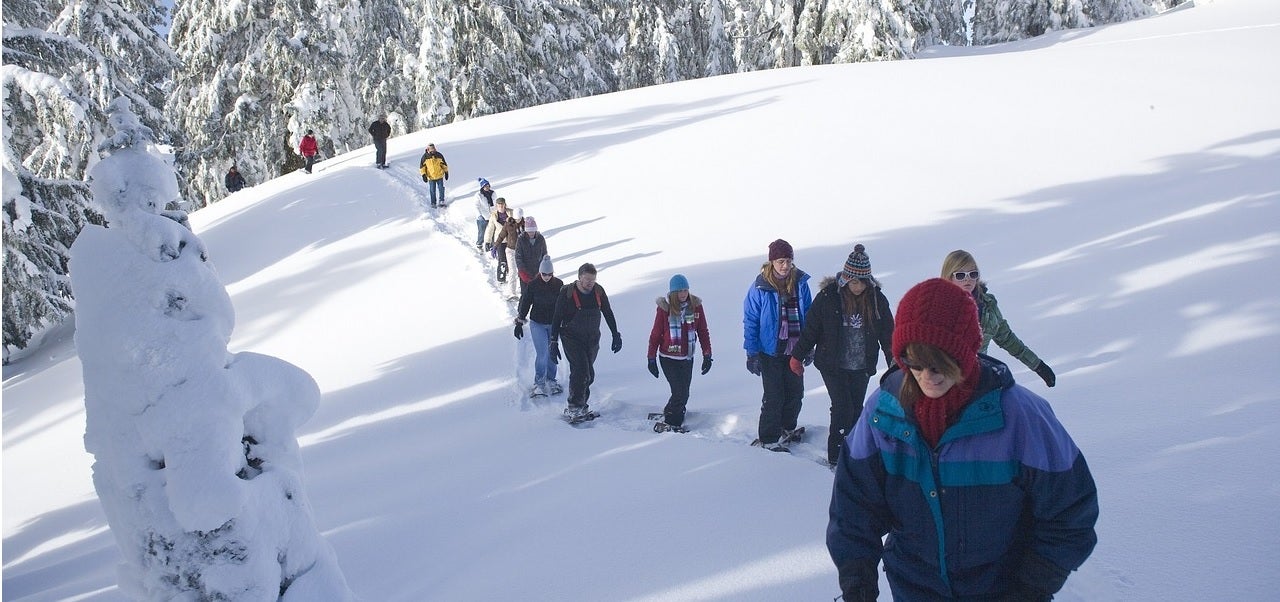
With snowshoes, there’s really nothing new to learn when hiking on flat terrain. Unless you’re covering icy or difficult terrain, you’ll walk just like normal! The learning curve is really quite forgiving.
To begin with, the primary difference you’ll notice is that the snowshoes force you to walk with a wider stance. If you’re not used to snowshoes, you may find that you have to consciously spread your feet further apart to walk without stepping on yourself. This is a quick adjustment for most people.
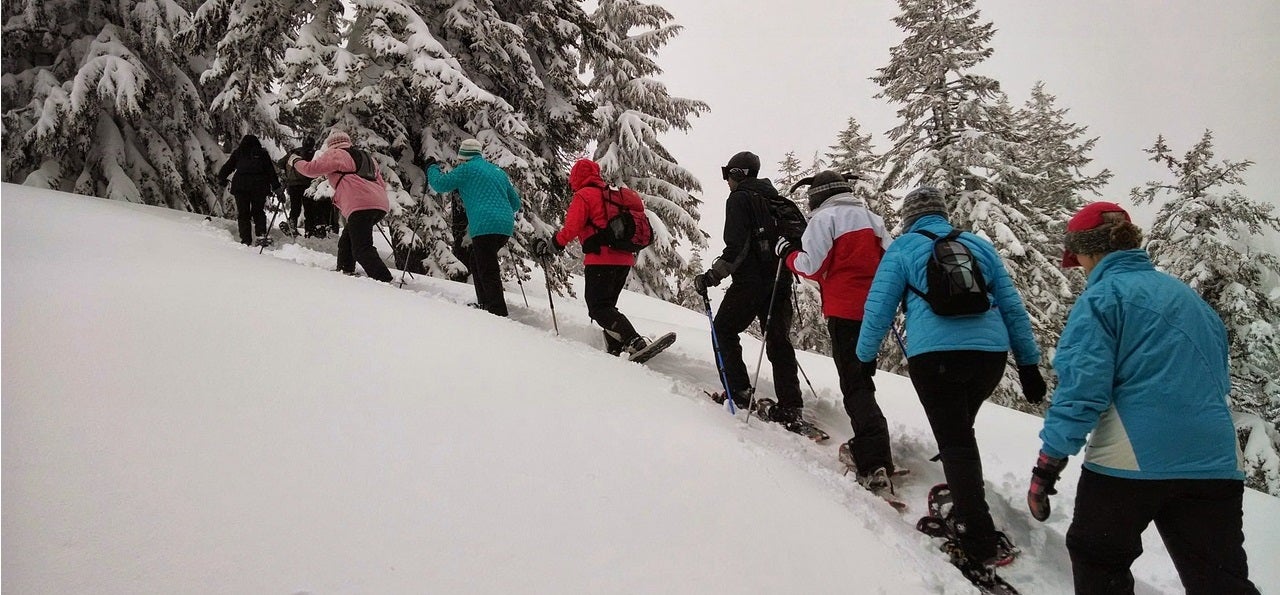
Snowshoeing Technique on Steeps
When the hills get steep and mountainous terrain comes into factor, you’ll need to switch it up. Snowshoes are built with crampons under foot. Those big metal spikes under your shoes when you put the snowshoe on are called crampons.
To use them, simply kick your foot into the snow as you climb a steep hill. This packs the snow down and digs the metal crampon spikes into the snow for traction. When it’s icy you’ll want to carefully use the metal crampons to dig into the ice with each step. Place your weight on them evenly and gently to help prevent breaking loose.
Some snowshoes have built in heel lifters. These are similar to what’s found on backcountry skis for aiding in climbing. When you encounter mild to steep terrain, flip up the heel lifters. They provide an elevated platform for you to step on which effectively reduces the angle of your legs against the hill and makes it easier to hike.
Snowshoeing Technique on Downhills
The way you should attack a downhill stretch depends largely on the design of your snowshoes. Before using them, make sure to inspect your crampons on the bottom of the snowshoe. Take note of where the metal spikes are and which way they’re angled.
For snowshoes designed with heel crampons you’ll find backward angled metal spikes near where the heel of your boot would be when walking. With this type of snowshoe, you can rely on a firmly planted step with the heel of your boot to provide traction when descending.
If your snowshoes lack this feature, you’ll want to keep your weight more over your toes during the descent. This less natural position is actually more effective in this case because it keeps your weight over the naturally grippy crampons. Leaning back here will most likely result in a slide on to your butt!
Check out this video for some more snowshoeing techniques:

Using Poles
When hiking I always use poles. When snowshoeing my pole preference can change daily. I don’t know why but poles just sometimes don’t feel right when snowshoeing. If you are a pole user, then here’s how to size them:
With your snowshoes on, grip the pole in your fist upside down, with the basket on top of your fist. The handle of the pole should touch the ground with your elbow at a 90-degree angle. If you don’t have snowshoes on, just add 2 inches or so.
Luckily most snowshoeing poles are adjustable so you’ll be able to easily tweak the poles after you buy them if there’s any mistake.
When choosing a set of poles, be sure they have powder baskets. Many hiking poles come with both mud baskets (for 3-season use) and powder baskets. Powder baskets are larger and made to displace your weight over snow so that the pole doesn’t sink in the snow each time you attempt to place it.
Hiking Responsibilities
As a snowshoer you must defer to skiers. This includes skate and classic Nordic skiers. Not only should you step aside to allows skiers to pass (it’s easier for you to step aside than them), you also need to be aware of where you’re hiking.
Anyone responsible for setting and maintaining skiing trails will tell you that snowshoeing can be the bane of their existence. As common etiquette to both the people who maintain the trails and other users, be sure to snowshoe to the side. Never snowshoe over set tracks for Nordic skiing as you will damage and run them.
Avalanche Awareness
Avalanches claim lives every year in mountainous terrain. It takes a certain set of conditions to create the opportunity for an avalanche, so don’t be worried that you’ll get swept away on just any average hike.
Avalanches occur in mountainous terrain between certain slope angles. There are also must exist a certain set of snow and weather conditions to create the snowpack that can slide.
Take an avalanche awareness course before traveling in mountainous backcountry. Always carry an avalanche beacon and travel with a group that is trained in avalanche response.
With proper training, the danger of avalanches can be largely mitigated. One of the most important aspects of avalanche safety is checking with the local authorities before heading into mountainous backcountry in the winter.
They will have an avalanche threat bulletin and you’ll be able to check with the ranger about the area you’re planning to hike.
Clothing Selection
Layering is critical for winter time when hiking or running on snowshoes. Remember to adjust your layers as you travel so that sweat does not soak your clothing. Exact layering systems can change dramatically given the weather and strenuousness of your hike.
Always start with a close fitting base layer of polyester or merino wool. I prefer ones that have a half-length zipper for adjustment.
Over this you’ll want a thicker wicking base layer that can be adjusted such as the Patagonia R1, my personal favorite. On top of all this you’ll want to wear a thin hardshell jacket to protect from the cooling effects of cutting winter winds. If conditions are extreamly cold and your a skier, you can wear your ski jacket and pants. Under normal conditions they would be too bulky but you will stay warm!
Finally, be sure to carry a lightweight waterproof jacket in case the weather catches you by surprise! Here is a more in-depth article on specifically dressing for snowshoeing.
I hope this beginners guide to snowshoeing was helpful to get to started. If you want to comment or recommend a snowshoes or tips I didn’t include, please use my contact form to get in touch.
Have fun and be safe out there!